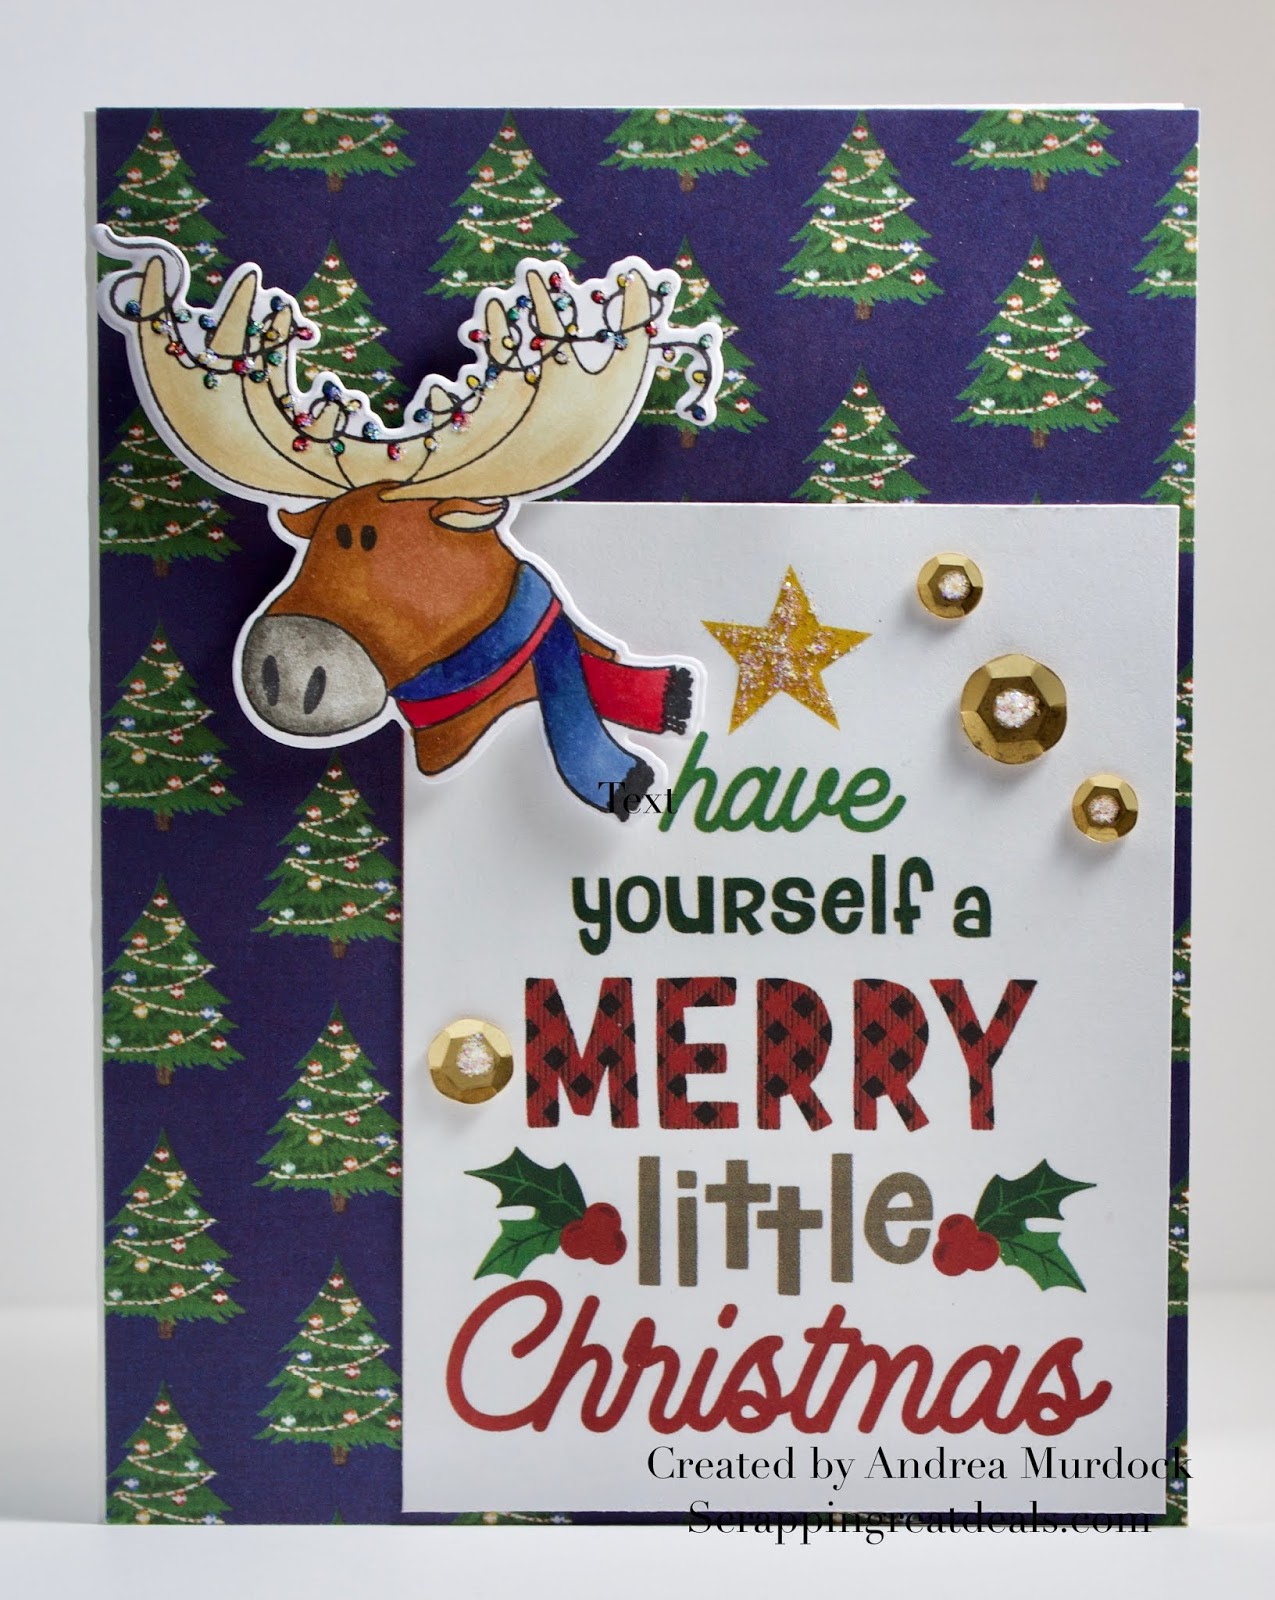
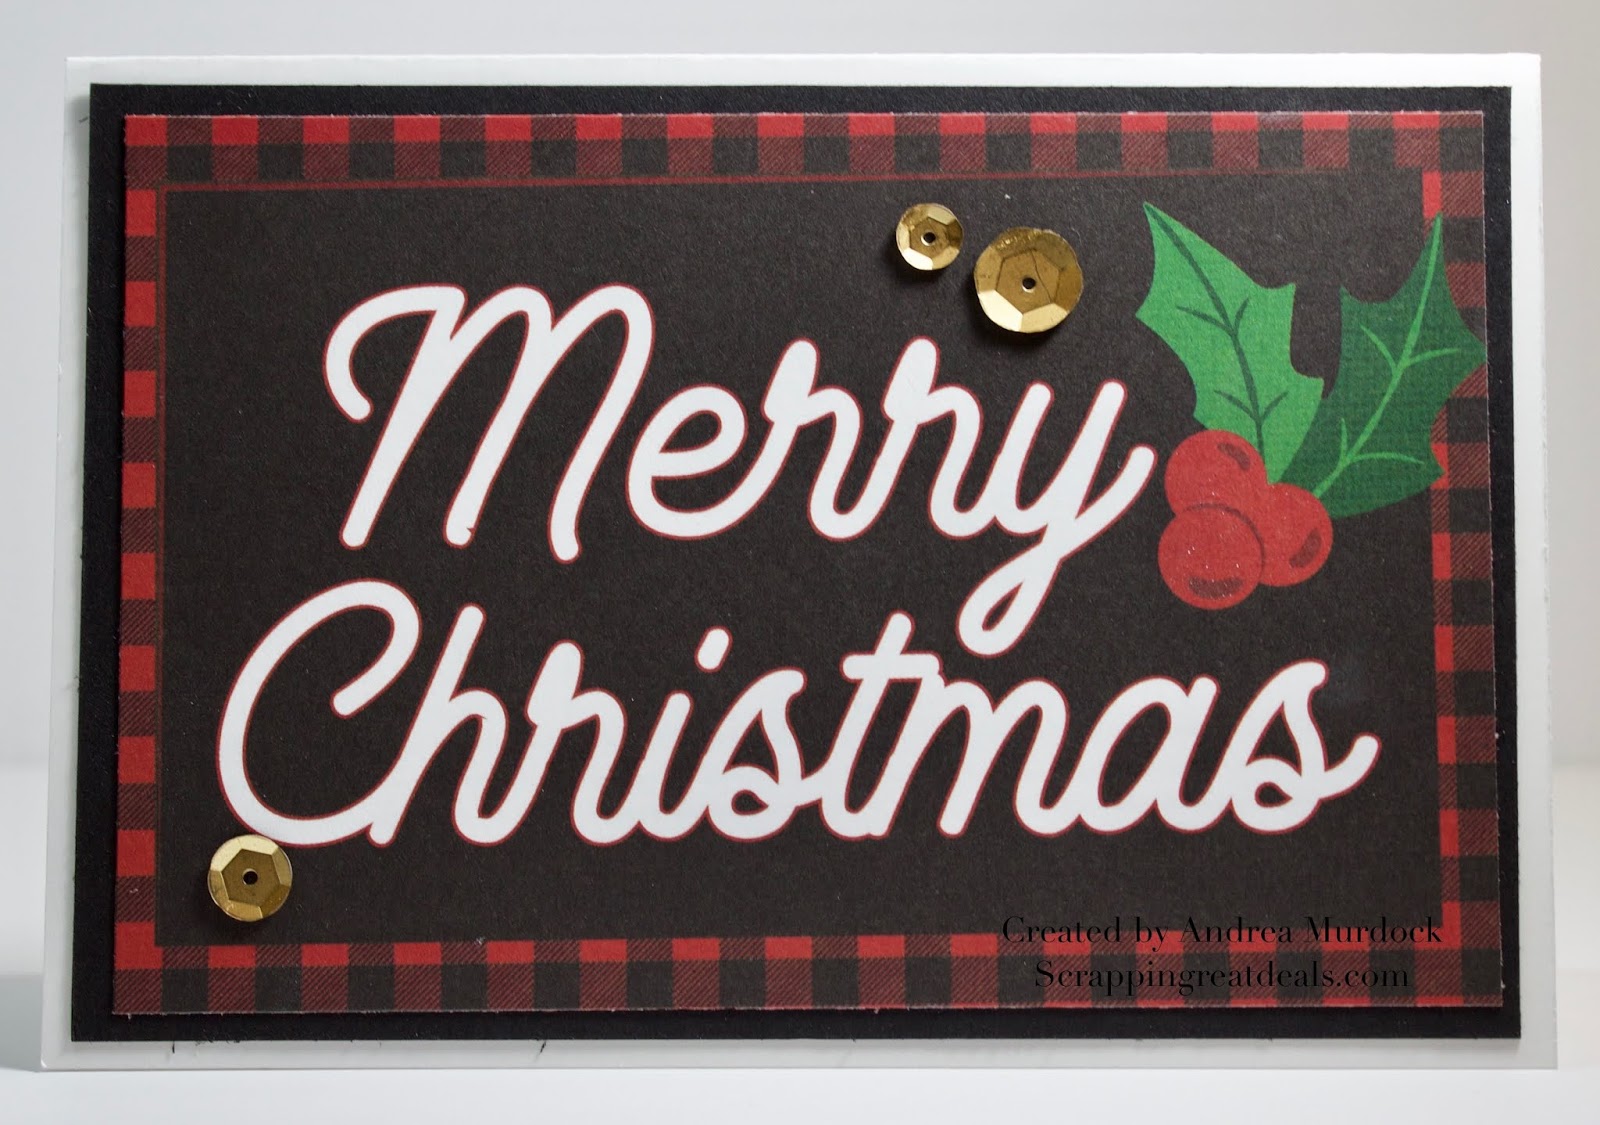
I cracked open a O Canada Christmas package that I got from Scrappingreatdeals.com and made 10 cards!!! I could have made many more with all that I still have left. Scroll down to see the quick cards I made. Love love love this Canadian themed set! I also used the matching stamps and dies and an ephemera pack. I can probably make 10 more next year. If you want some matching papers, stamps, dies and accessories you will be in crafting heaven!
Last night was Art Journal night at SGD hosted by the fabulous duo of Kim and Lori. I took my teen daughter Jaime along as this crafty venture finally appealed to her. Try as I might I can't usually get her to craft with me but when I told her that Art Journal has NO RULES she was all over it.
And she rocked it
She created the first picture using Dylusions sprays, assorted stamps and Staz On ink. This was her first page and she was HOOKED.
Her next creation is a tribute to her favourite movie Moulin Rouge. Again she used Dylusions Sprays, some of the new Prima Color bloom sprays for the splatters, various stamps, Staz On and then a stencil with embossing paste for the girl outline. When she explained what her page was about on the way home and why she chose the colours and elements that she did I was so pleased to see her express herself this way.
In fact she wants to bring some of her teen friends with us next month! Successful mom/daughter outing! Maybe you have a younger person or an older person in your life who may want to try this as well. This activity truly reaches all ages.
If you haven't tried Journalling yet you may want to think about giving it a try- it is so cathartic. In fact I am still mellowed out lol!!!!!!
Huge thank you to Kim and Lori for all their help with our questions last night. So patient and inspirational! And another thank you to the ladies there last night who made it such a warm and welcoming group.
Andrea here with a quick card using MME's newest collection and a new Paper Smooches set Scripty Sayings. I have long adored the little metal pins or 'flair' that I have seen kicking around and finally cracked and bought some when I saw 'Now and Then' set. I used some matching washi tape from the collection as well as some small note cards. I used the Paper smooches set to add my celebrate sentiment and then I was done!
Here is a card I shared today over at the SGD blog. I have left the product link ups below because I am an enabler hee hee! If you are in the US Sheila does over excellent prices on shipping :)
My love affair with Paper Smooches products goes back for years and when I saw Kim Hughes come out with steel dies I was in heaven! I am getting quite the personal collection and when I saw this label die and the smattering of hellos I had to have them. Had to.
My other current love affair is the Crate paper Love Notes collection which I have used on this card (and many others- seriously addicted). I am also collecting like a mad woman enamel dots. I don't know what it is about these slightly raised colourful bits of enamel that have me all aflutter but it is what it is. I have used 2 of my precious collection on this card from Prima the Optimist collection. I don't see them listed anymore- probably because I bought them all- sorry! Here are some from Doodlebug to give you an idea of what I am talking about.
I'll try not to buy all these up too before you get there ;)
**Please scroll down for my Crazy 4 Challenges post**
I found this cute card that we made a couple Thursdays ago at Scrappingreatdeals product talk- aka Therapy Thursday. I added a few extra pieces of bling to it once I brought it home. I can never resist making things sparkle just that little bit more ;).
We played with My Favorite Things (MFT) 'Inspired by Butterflies' stamp set and the matching dies. I have a hard time resisting anything butterfly related and this one is so versatile I felt totally justified buying both lol!
The gorgeous paper on this card is from one of my new obsessions- London Market by Pink Paislee. I have seriously bought the paper in 12x12 and 3 packages of the 6x6 papers. And all the embellies in duplicate. I think this one wins for fave of the year! Sooo Yummy!
Yep- more addictions for me...not really a big surprise there hee hee!
Today it's my turn to play along with our current challenge- Embossing! I still had Gilli's house on my craft table from the last challenge (that tells you the state of my craft room hee hee) and I got this sweet and simple card idea as soon as I picked it up!
I tried this card idea on a A2 size card (4.25x5.50) but it didn't work at all. Something seemed off and I realized that with the shape of Gilli's house she needed a square card- with rounded corners obviously ;). It worked perfectly!
When using embossing powder it is important to prime your paper first so that you don't have a million little bits of your embossing powder everywhere to take away from the clean look of the card. I used a little pouch called an embossing buddy and wiped it all over my card. Be warned if you are using coloured cardstock it can leave a white powdery film on your paper so use a gentle touch. This eliminates the static of the paper and releases the embossing powder except where you want it to stay. For my ink I prefer to use Versamark watermark ink in clear. I ink up my stamp and firmly press it to the paper. I then used some detail embossing powder and pour it over my paper. Don't worry about how much you use as you can pour almost all of it back into your container. When you pick up your card the powder should only stay where you have put the ink. I give a light tap to my paper to further release any random bits that may be trying to sneak onto my card. You take your embossing gun to heat the powder and then watch the magic happen! All these years and I still enjoy watching that powder melt lol!
I added a sentiment as this card is intended for someone moving into their new home- it certainly would be a special day! I added a touch of ribbon and then whimsy hit me and I cut out some cloud shapes. I ran it through my Xyron sticker maker to add adhesive then I added white fluff and glitter to my clouds to make it pop out from the white card base.
To play along with our current challenge click here to go to the House of Gilli blog and join us! You don't have to use a Gilli stamp to qualify and if you win you will get some Gilli goodies of your own! Good luck!
So much to share today!!! First I made this video to go along with last week's promo where you could get a Bow Easy for free! By the time I got the video edited though the promo was over. That is Soooo Me! LOL!!! I hope you enjoy it anyway and here is a good tip for you. Grab your Bow Easy and try it along with the video. Stop it after each step to give you a chance to try it. Do that a few times in a row and I swear you will feel the lightbulb turn on and you will get it hee hee!!!
Speaking of ribbon....I have long wanted a Ribbon Carousel and was super happy when Sheila got some in. I grabbed two packs of wooden spools and my new ribbon display and skipped happily all the way home. Since I have OODLES of ribbon I put on my RC primarily my twine and washi tape rolls as I reach for them the most. In fact I love it so much I may have to get another one for my grosgrain ribbon! She still had one in stock last time I checked..you may want to grab it before I do hee hee!!! Happy Saturday!
Ahhh bless....Spring. I loves me some Spring. That fresh smell that accompanies the ground thawing out and the flowers pushing their way through the soil. Birds chirping like mad and that feeling of new beginnings. Yes I love it- SO HURRY UP AND COME!
Thankfully C4C is helping me cope with our Ontario Winter by giving us a Spring Inspired challenge. Think of Spring colours, new babies - human or fur, flowers and usually raincoats and wellies lol!. I went with Spring colours for my challenge card and used some Bo Bunny paper Country Garden paper and the card I had partially made during SGD's huge Bo Bunny event a few weekends back. I challenged myself to finish the card (I just had the card pop up base assembled) and to also use the card stock and stickers included in the kit I received. I did also add some satin ribbon and bling from my stash hee hee. Spring means bling in my books ;).
For more beautiful Spring inspired eye candy pop on over to the Crazy 4 Challenges blog to see what the other crazies have created. I already took a peek and the cards are beautiful!!! Feel free to play along with us- we'd love to have you!
It has been forever and a day since my last post. I have been soooo busy getting ready to move, moving and now in the chaos of unpacking that blogging got a vacation. I have to admit I missed crafting and blogging my creations as it really does keep me sane. And moving really tests the old sanity let me tell you!
I dug out a few supplies in my new but far from unpacked craft room to play along with this week's challenge over at the Crazy 4 Challenges blog. Now I am going to be upfront and share that in the group emails I had heard some talk about this week's challenge and some hair being pulled out. I didn't think much of it- I mean I make 2 layered cards all the time. A card base- then my 2 layers. Easy Peasy!
Except I was wrong. So very very wrong.
A 2 layer card is the card base and one more layer. That is it. Sounds easy right? Now plan a card in your head and when you go to add more papers...remember to stop. See what I mean? It really is a challenge! After some swearing, temper tantrums and my own hair pulling an idea floated through. And truth be told I LOVE being challenged to step outside of my box so obviously the temper tantrums are just part of my creative process hee hee. To help meet the challenge requirements I just made my nice thick patterned paper from Bo Bunny into my card base. PHEW!
The design on my card was inspired by a design I found on my newest obsession/addiction Pinterest. The exception being it did use 2 layers plus a card base. The simplicity of the design but the eye catching impact totally rocked my world! This is my 2 layer take on it. Here is the original card I found on Pinterest that I think Amber Kroening was the original artist- if I am wrong my apologies!
http://pinterest.com/pin/280771357988762727/
See what I mean! Stunning!
I used Bo Bunny's GORGEOUS Almanac paper from the Country Garden line as my card base. I think I may need to buy a basquillion sheets of this particular paper cause I can't get over how much I love it! I had originally planned to use another sheet from that line as my 2nd piece but then this cool blue wood grain piece from MME caught my eye. To create my butterfly cut outs I used Martha Stewart's punch all over the page butterfly punch. Not sure why I haven't use these punches before because they are brilliant! It was missing something so I added a sentiment and some bling and then decided to walk away to keep the simplicity of the card. I am happy with how it turned out.
Then I had to find my photography equipment- Oi Vey!!!!!
So come on and get crazy with us at the C4C challenge blog. Let us know how you did with the 2 layer challenge!
I just wanted to share 2 examples of the cards we made on a previous Product Talk session (aka Therapy Thursdays) where we played with Perfect Pearls over at SGD.
To make this card we first stamped our image using Kaiser Crafts cute butterfly stamp in Versamark ink. We then took our perfect pearls and gently brushed a SMALL amount of the pigment onto the image. We found it best to work with one colour at a time and put it where we wanted it before moving onto the next colour. Once done you then take the larger brush that is included in the kit and brush to remove the excess pigment around the image.
An important tip is that you should just use a light hand when applying the pigment as you don't want to grind it into the fibers of the paper and therefore leave a colour 'cast' around the image. As well I like to seal my images. In this case we used Goosebumps spray to seal and add texture to our cards yet you can also just use a mini mister and water to set your design. Love that!
One of the fun things about perfect pearls is how versatile the colours are. I used the exact same colours on each card yet based on what colour of card stock I used they looked completely different. I did also have an example on white paper but I gave that one to my partner in the A-Team the fantastic Anja.
So here is another 'what's old is new again' tool that many of us have in our craft supply. Dig it out and see what fun it us to play with pigments!
Of course if you don't already have Perfect Pearls you know SGD has you covered!
I just love the challenge of getting a mix/match of papers and some stamps to see what I can come up with to help customers make cards with SGD's monthly card kits. Here are the two cards I designed.
The first card is using one of Unity's Itty Bitty stamps called 'Life is so good'. And instead of copics this time I added colour to my image using stickles! I used Stardust, Fruit Punch and Christmas red. I also stamped the image using my absolute have ink for detailed stamps- Versafine in Onyx black.
My second card I used one of my fave Unity Itty Bitty stamps "Just Be You". It may be my fave cause I have the matching shirt from Unity that the amazing Angela gave me last time I saw her. I love it! And let's face it- we all need a reminder from time to time that we should stay true to yourself and who you are instead of being who you think people want you to be. I know I have been guilty of that myself. I should probably get it tattooed on my hand to remind myself of that lol!
I inked up the papers in the kit with some of the Mixed Media ink in Leather by Donna Salzar. It takes a bit to dry so be warned that you either want to set it aside or use a heat gun to dry it faster.
I am really happy with my cards using this kit and I hope it helps inspire you too!
Sharing today the second card club members are making with their Nov card kit. It is using the Stamping Bella Snowman circle stamp. I paired this adorable stamp up with some Authentique Christmas paper and some kraft Maya road snowflakes. To add some shine and bling I used my new glitter by Twinklets and it is GORGEOUS. Sheila has in some stunning new pearls and gems from Prima that have different facets and honestly I think I bought a pack in almost every colour- they are so beautiful! I used the pearl ones on this card- love!!!
One more Christmas card made and a basquillion to go! How are you coming along with your Christmas card making?
I wanted to share a picture of the November card kit contents and one of my completed cards. They are all packaged up and ready to go but we are awaiting the stamps for the kit from our supplier- kind of an important part of the kit lol!!! I have been itching to share this card for a few weeks now and just can't wait anymore as I love this crazy reindeer from Stamping Bella!
I used some of my Bo bunny paper from the kit to make up this card so I matched my colouring to the colours in the paper. I will include what copics I think compliment it well in the card kit instructions to help make it easy for those of you who like to match like me :)
In this month's kit we also provide cricut cut sentiments for your cards- brilliant!!! It was Sheila's idea and the reason I am sharing that is because Lori and Kim had to cut them all out and I guess they were ready to wring my neck after hee hee!!!!! So again it was SHEILA'S great idea and we appreciate the hard work as they are amazing!!! Thanks ladies!!!
Keep an eye out for the second card from the kit and also for the kits to go on sale because once they sell out they can not be reordered.
Thank you to Susan who sent me this picture so I could share it with you. It was taken by her cell phone and I think it did a pretty good job!
This is a picture of the grab bag that attendees of the punch a bunch class this weekend will be receiving. I made these up for Sheila using the Unity stamps for the Simple Stories kit generations. I just love this set!!! I especially love the doilies and they are so hot right now in the crafting world. The set even came with the sentiment you see below the SGD. Now the SGD stamped on here was using monograms from Just rite Stampers. Look Anja- I used your fave stamps! hee hee. This bag is so packed full of good stuff I am insanely jealous I am not going to the class and getting one!
Well that's enough from me today. I hope you have a wonderful day ladies!
Here is my post from over at SGD's blog today....it's smashing good fun!
SGD has the sooo popular Smash Books in stock in many of the different colours. Which is good and bad for me.
Good- they come in different colours. I like different colours.
Bad- the different coloured books are different on the inside so of course I need each one.
Or is that maybe another good thing? hee Hee.
I have to tell you about how popular Smash books are not only with us crafty peeps but also for kids and teens. I bought these books for my 2 daughters. One likes to craft..one not soooo much. Well they are both onto their second books as they are so full if they put anything else in it may explode! We have bought some for their friends and it has proven to be just as popular with anyone we have given it to. I think it is because it is old school scrapbooking as shown in the video above. They cut out their 'Cody Simpson' and 'Justin Bieber' pictures from their magazines and fill the books with their fave pictures. They smash in all their movie tickets, pamphlets from places we've visited, restaurant menus, doodles, good notes from teachers and notes from friends. Instead of the collectables that used to float around in bags and drawers they have a place in their book to treasure forever.
My oldest recently had a birthday party and 2 of her friends brought their Smash books to the party so they could add to it as the party progressed. I DID NOT MAKE THEM DO THIS! Even though it is something I could totally see myself suggesting to the kids hee hee. They smashed in flyers from the spa we went too and parts of their gift bags. Girls after my own heart.
I am sharing this story because I am so surprised at how amazing these books are for birthday and Christmas gifts. The books and the add-ons you can buy are so inexpensive that you can grab a few items to get them on their way- starting with smashing some of their birthday cards right into their book :).
Click here to find SGD's supply of Smashie goodness for Smashaholics like me-
Here are some pics from my Smash book and my basket of Smashie goodness. I have to admit I fight not to 'organize' my page and just freely put items in. I keep reminding myself- this is not a beauty pageant- just smash it in!!!
Smash books- I'm not sure who came up with the idea at K&Company but I thank you.....I love you actually....I hope that this doesn't make things awkward...but I really love you...Smash books make my life brighter and free. Bliss...
I would like to introduce you to Carrie- my copic case. She and I are new besties and we are getting along fast and furious. I first saw these online through a store ad and couldn't even find other pictures online. I emailed Sheila instantly blathering about a new case that I needed now...now...NOW!
Thankfully she was able to tell me they were already on their way to SGD.
She 'may' have stretched the truth slightly so that I wouldn't give myself a new hernia with the conniption I was having but it did calm me down lol!!!
I wasn't sure I would like it. I currently have them in order in an acrylic case which made it easy to find a certain colour but other than that..... well it doesn't travel well and it has spilled on me on more than a few occasions. Since I frequently enjoy colouring with friends portability is important to me.
I have to say I have tested it out and it is working great for me. I used it over at Sarah's house and had no problem grabbing the right colours quickly and clean up was a cinch compared to me putting it off because it meant re-organizing them over and over again. Time to leave..well I just closed the lid and zipped it up! I filled 5 cups with my markers and the 6th one I put my glitter pens and most commonly used refills. I also had room to slip my memento ink pad, some stamps and a stamp block in my case.
Sarah had to get a case too and I am happy to share that after I teased her with photos of mine that she now has one of her own. She was so excited to get it home and fill it up. I got an email from her titled- "Copic Case- A Cautionary tale" and the following pictures...
This is the email I sent back to Sarah after seeing these pictures- 'Sarah- before I forget...the copic cases are not meant to go on their side'. Hahahahahahaha
Sarah wanted me to share she has now recuperated from the copic incident of 2011 and all the markers have been found and put in the case. She may have a few more gray hairs than what she woke up with the morning before but all is well in the end.
I have also seen pictures of the new copic case with the 36 wallets packed inside- you can get 216 markers in the case with room left over for refills or paper.
I found this on Marianne Walker's blog who works for copic- If you use the hard shell cases like Marianne did in the picture above, you can fit about 288 markers.
I do find this to be the best option out there for me and when colouring with Sarah last night she agreed that we had no trouble finding our markers quickly even though we were used to having them in exact order. So the chaos of them all in soft cups helter skelter didn't impede us as much as we were worried it would. As well we kept exclaiming about how quick clean up was with us just sticking them back in the cups- love!!!
I hope you enjoyed this review and Sarah's word to the wise- Andi
Happy Tuesday everyone! Today over at the High Hopes Challenge blog we are asking you to use Ribbon, Lace or Twine on your HHS creation. Easy Peasy for this gal!
I used one of the new snowmen from the Sept release called Christmas Joy Snowy and coloured him up with my copics. I then used some Christmas paper I grabbed last year from Webster's Pages which ended up matching the copics I used. See...my constant shopping comes in handy when it turns out I was lucky to have picked this up last year and have it around for this year hee hee. I added some of my red and white twine from the Twinery and a Christmas Tree charm I received from my friend across the pond Elaine from her shop. I finished the card off with some spritzes of Frost shimmer spray and voila!
One more Christmas card down....a basquillion more to go lol.
So if you are looking for some amazing mojo inspiring creations look no further than the HHS challenge blog and see what the rest of the DT has made.